


Let's create our first AWS account first
For creating aws free tier account, do follow this link from aws itself.
create-and-activate-aws-account.
As these steps are well explained, easy to understand and follow, we move to EC2 instance part.
What is EC2 instace?
Amazon EC2 instance (Elastic Compute Cloud) is a web service that provides resizable compute capacity in the cloud. With Amazon EC2 you launch virtual server instances on the AWS cloud. Each virtual server is known as an “instance”.
Amazon EC2 supports a variety of operating systems including:
Amazon Linux Ubuntu. Windows Server. MacOS. Red Hat Enterprise Linux. SUSE Linux Enterprise Server. Fedora. Debian. CentOS. Gentoo Linux. Oracle Linux. FreeBSD.
Now, Have some hands on. While creating EC2 instance, there are 3 basic major parts of it.
- Choosing Operating System
- Choosing Instance type & creating Key Pair
- Creating security group
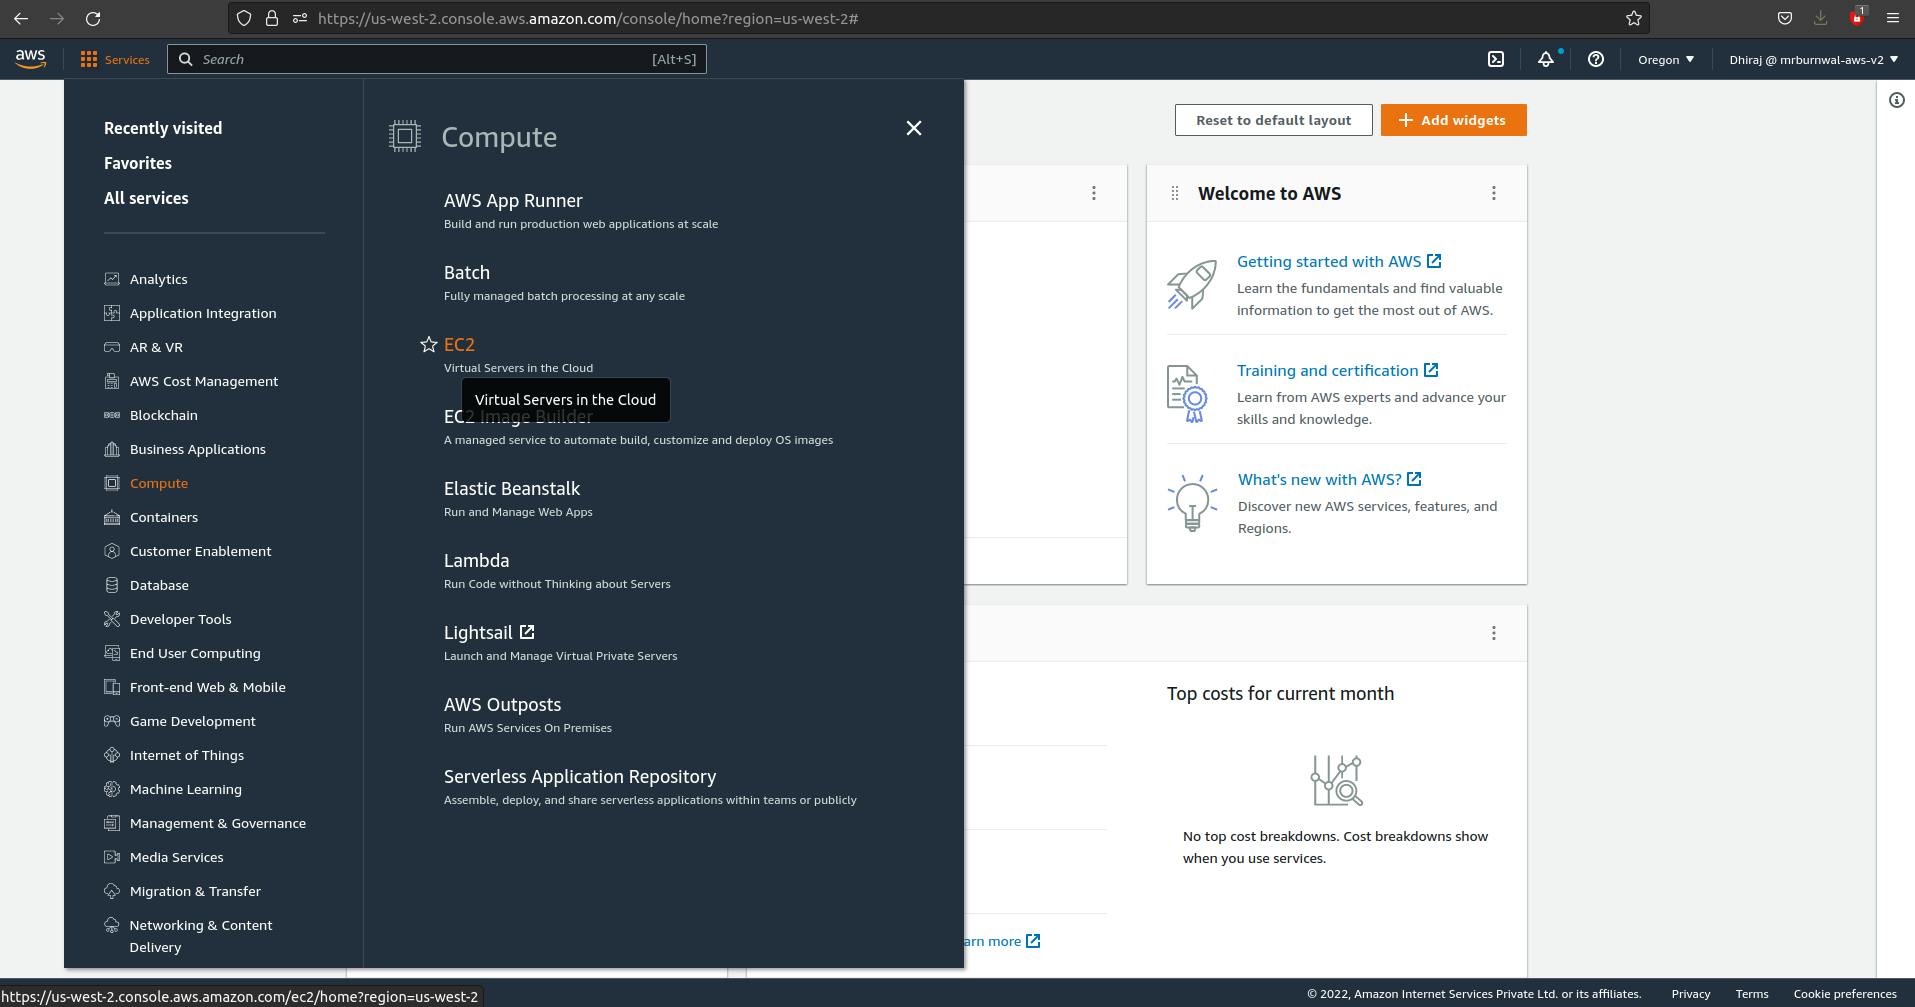
Step 1: login to your aws console. Click on Services > Compute > EC2
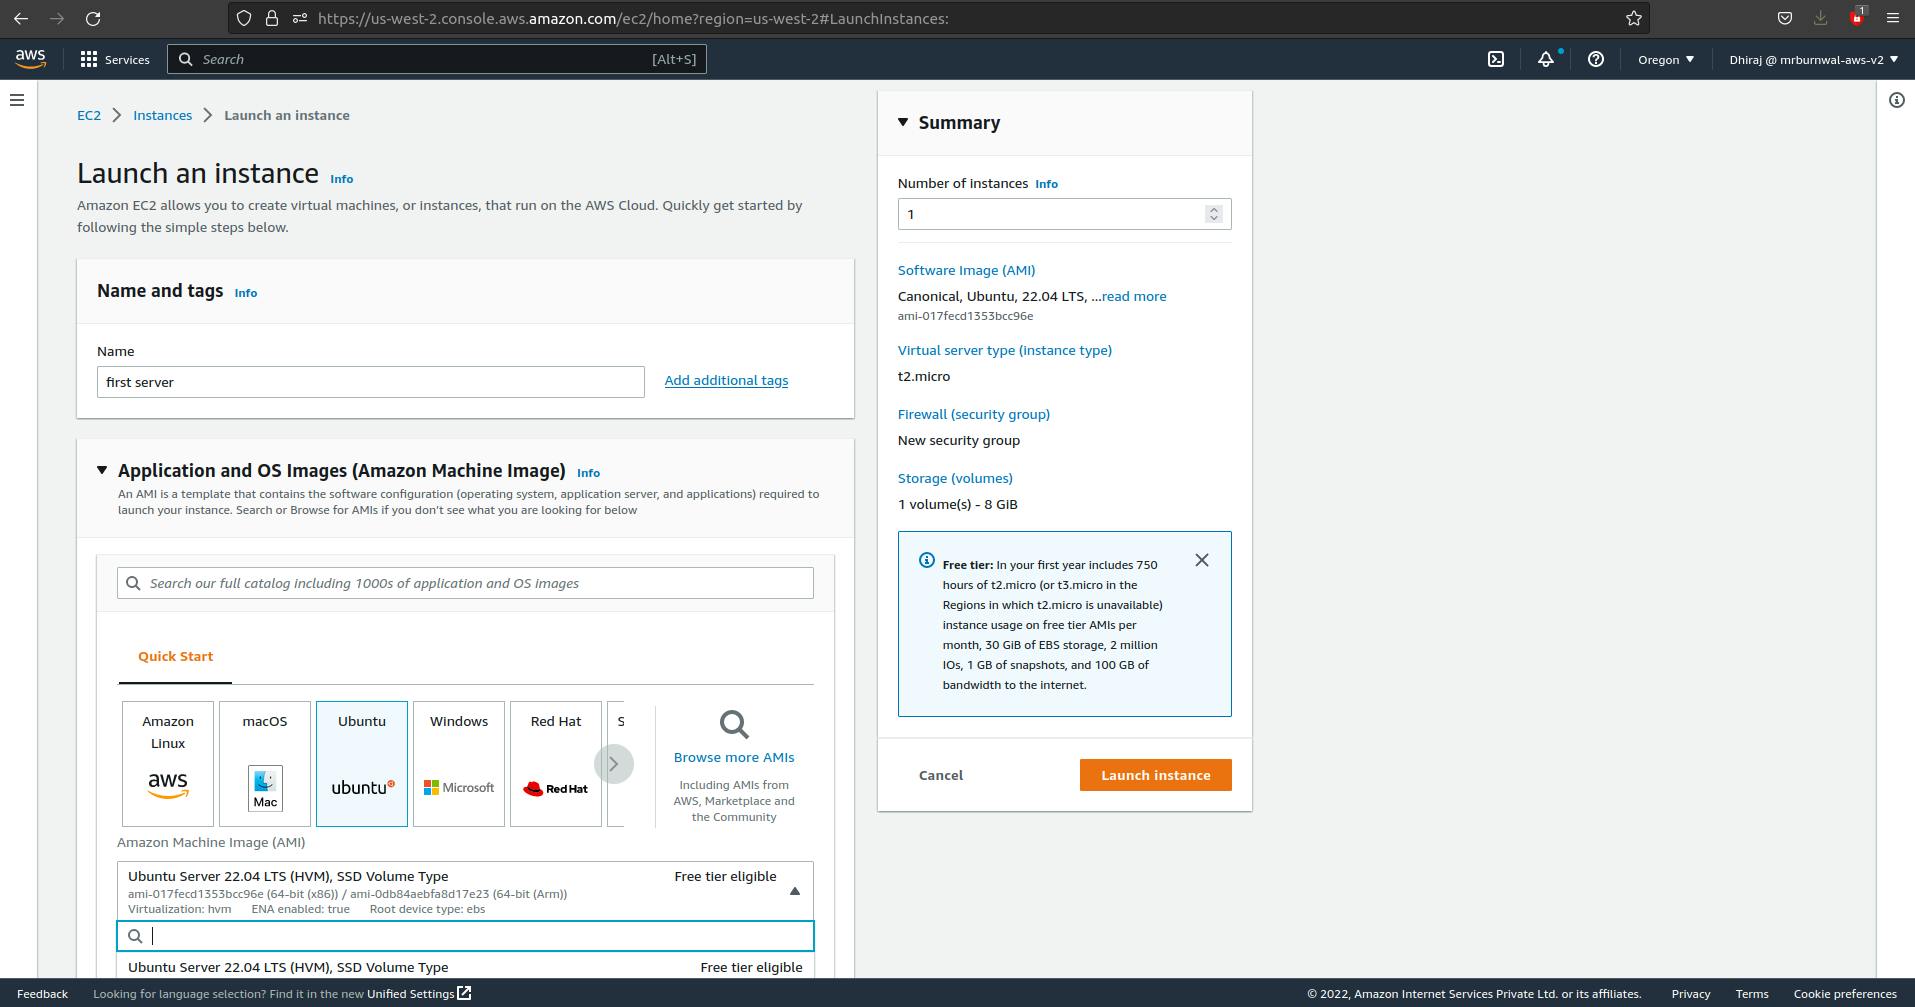
Step 2: Click on Launch Instance. Give name to your server and choose Operating System for this demo, we gonna choose Ubuntu OS.
Amazon EC2 High Memory instances can have memory of EC2 instance from 0.6 GB up to 24 TiB.
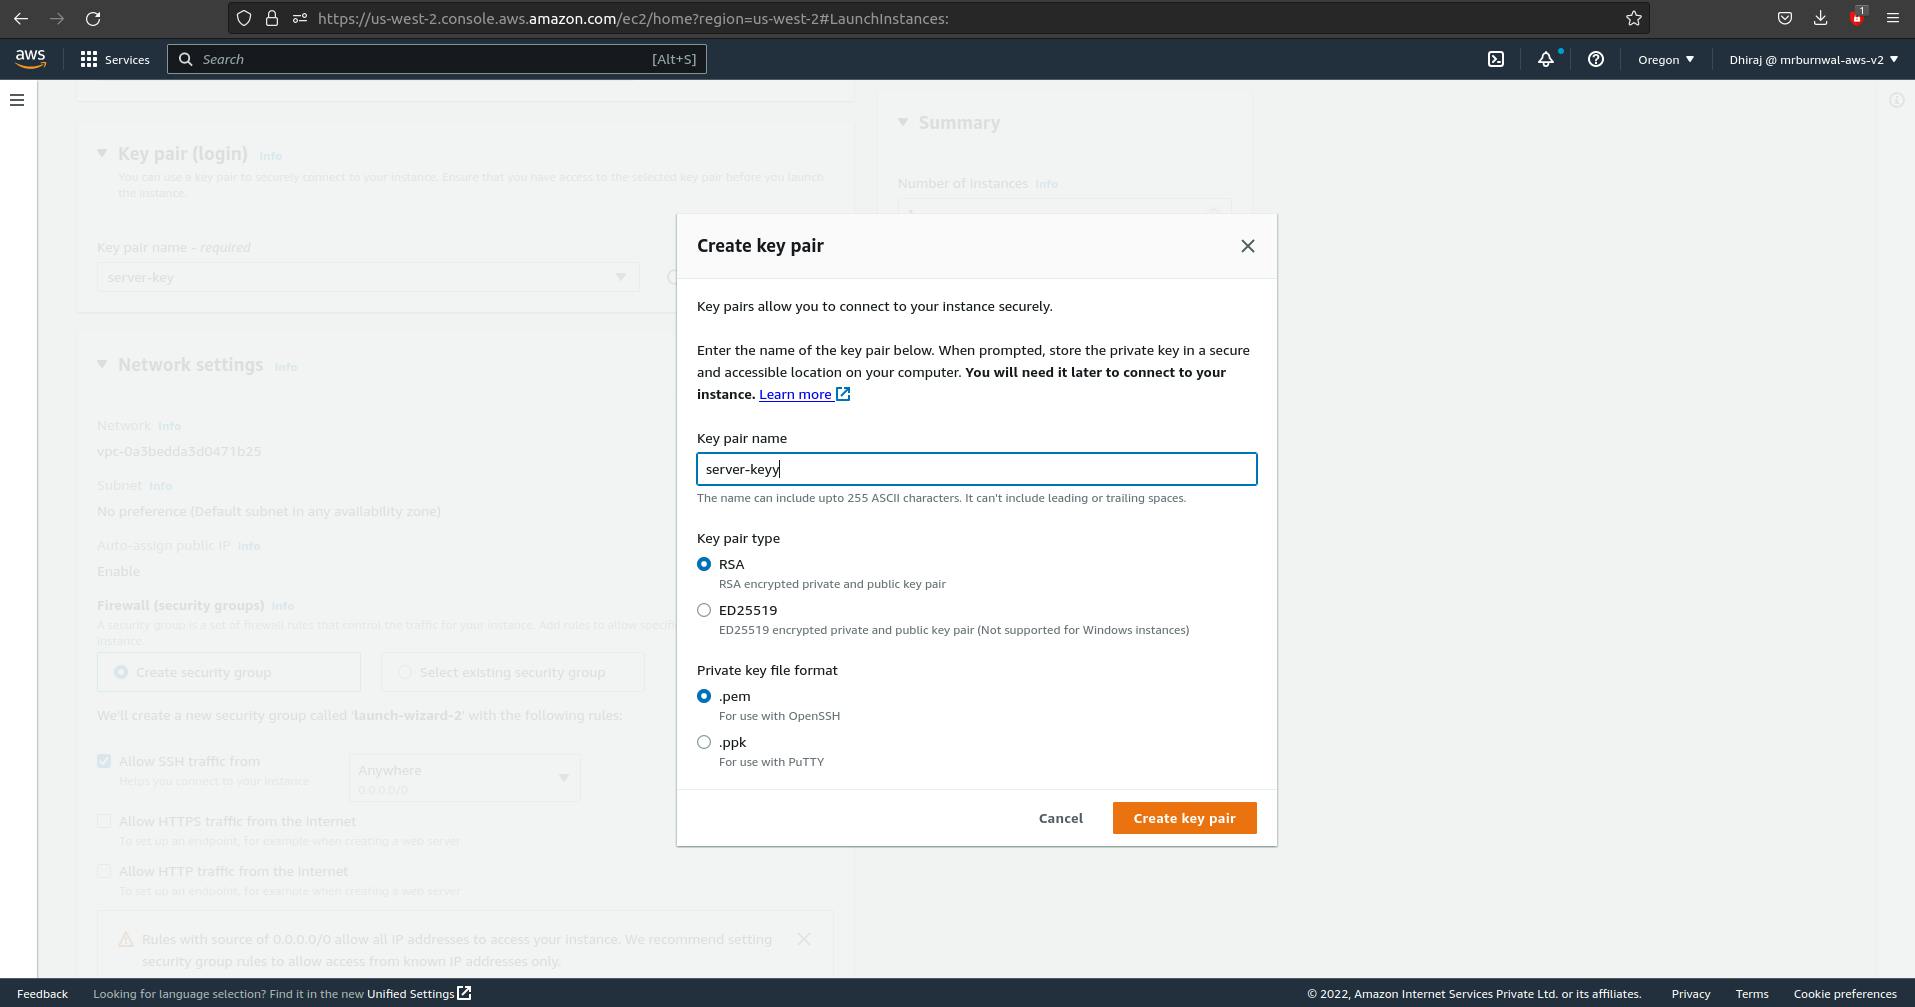
Step 3: We will choose t2.micro instance type as it is free to use upto 750 hours in a month and provides 1 vCPU and 1 GiB memory. Also, create key pair. Give name to key pair. Make sure name is unique, .pem and download.
Step 4: In this step, we will create security group. Security Group manages inbound and outbound network traffic. Always check ssh (port 22) and any other port open as needed. SSH helps in connecting our EC2 instance with terminal. Follow as shown in picture.

Step 5: In this instance, 8 GB EBS (Elastic Block Store) is attached by default. Hit Launch Instance.
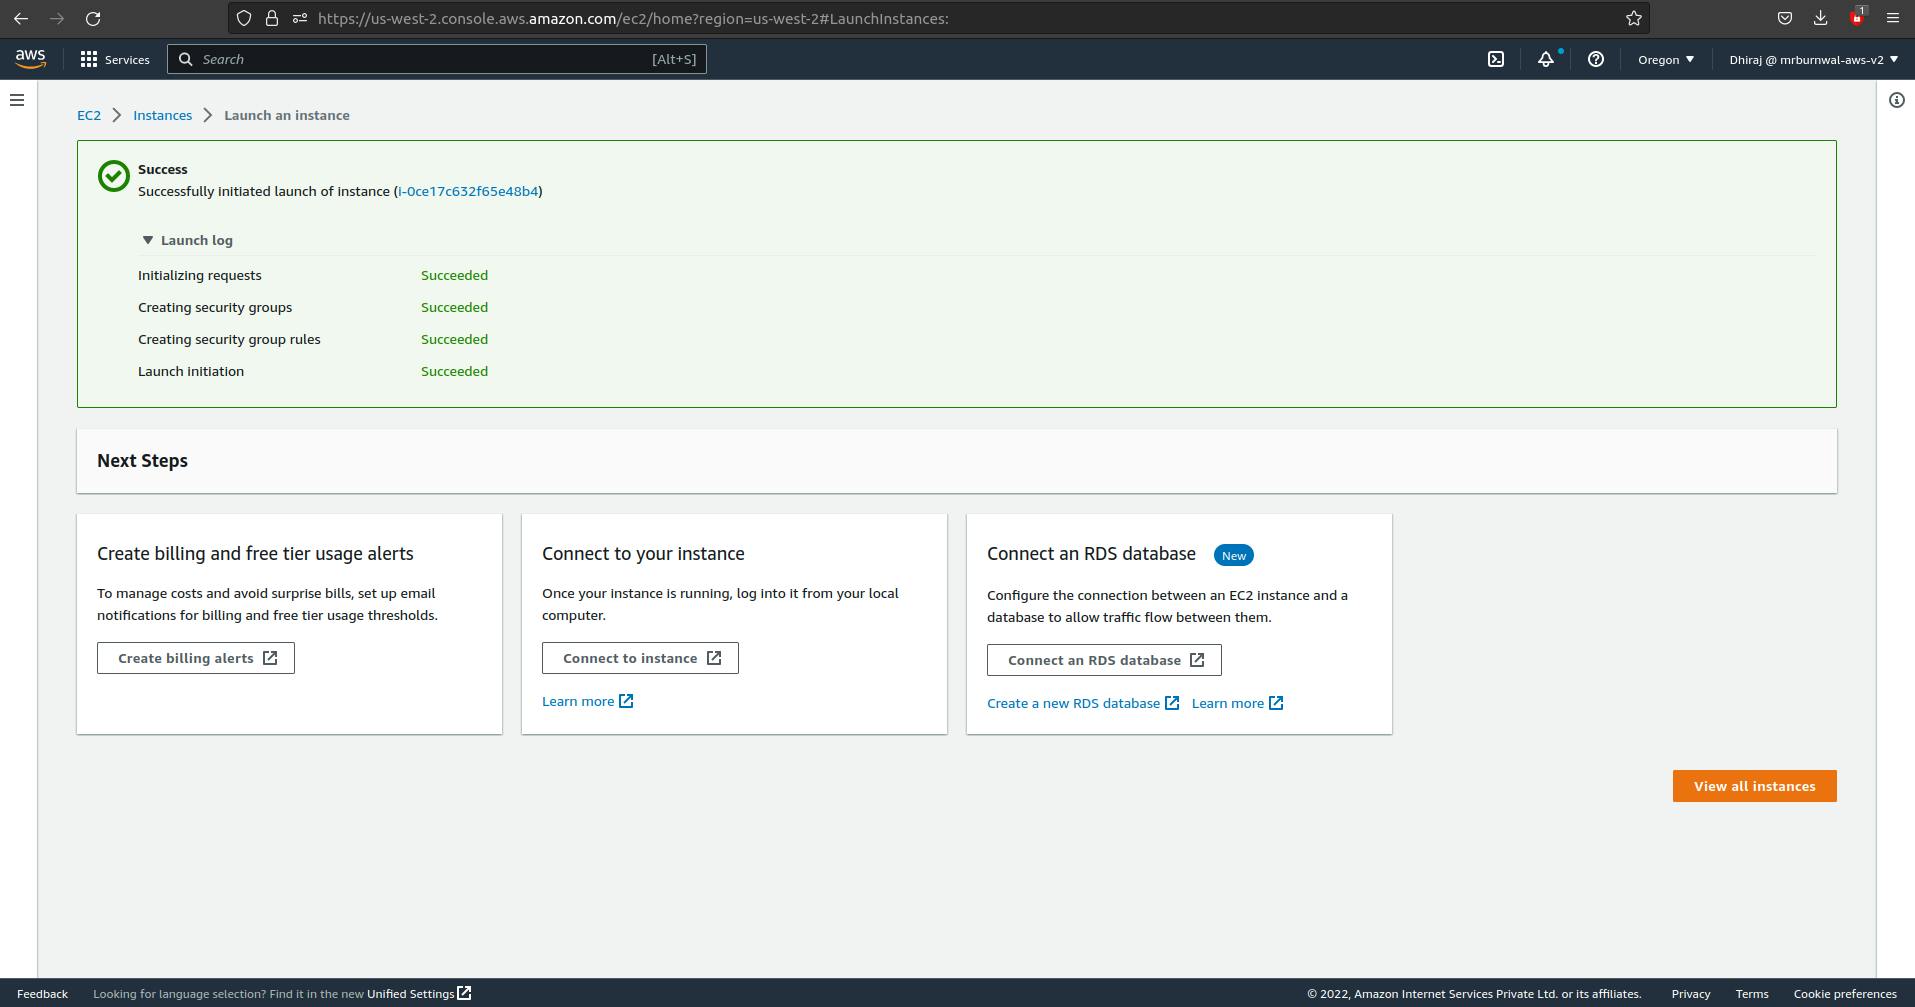
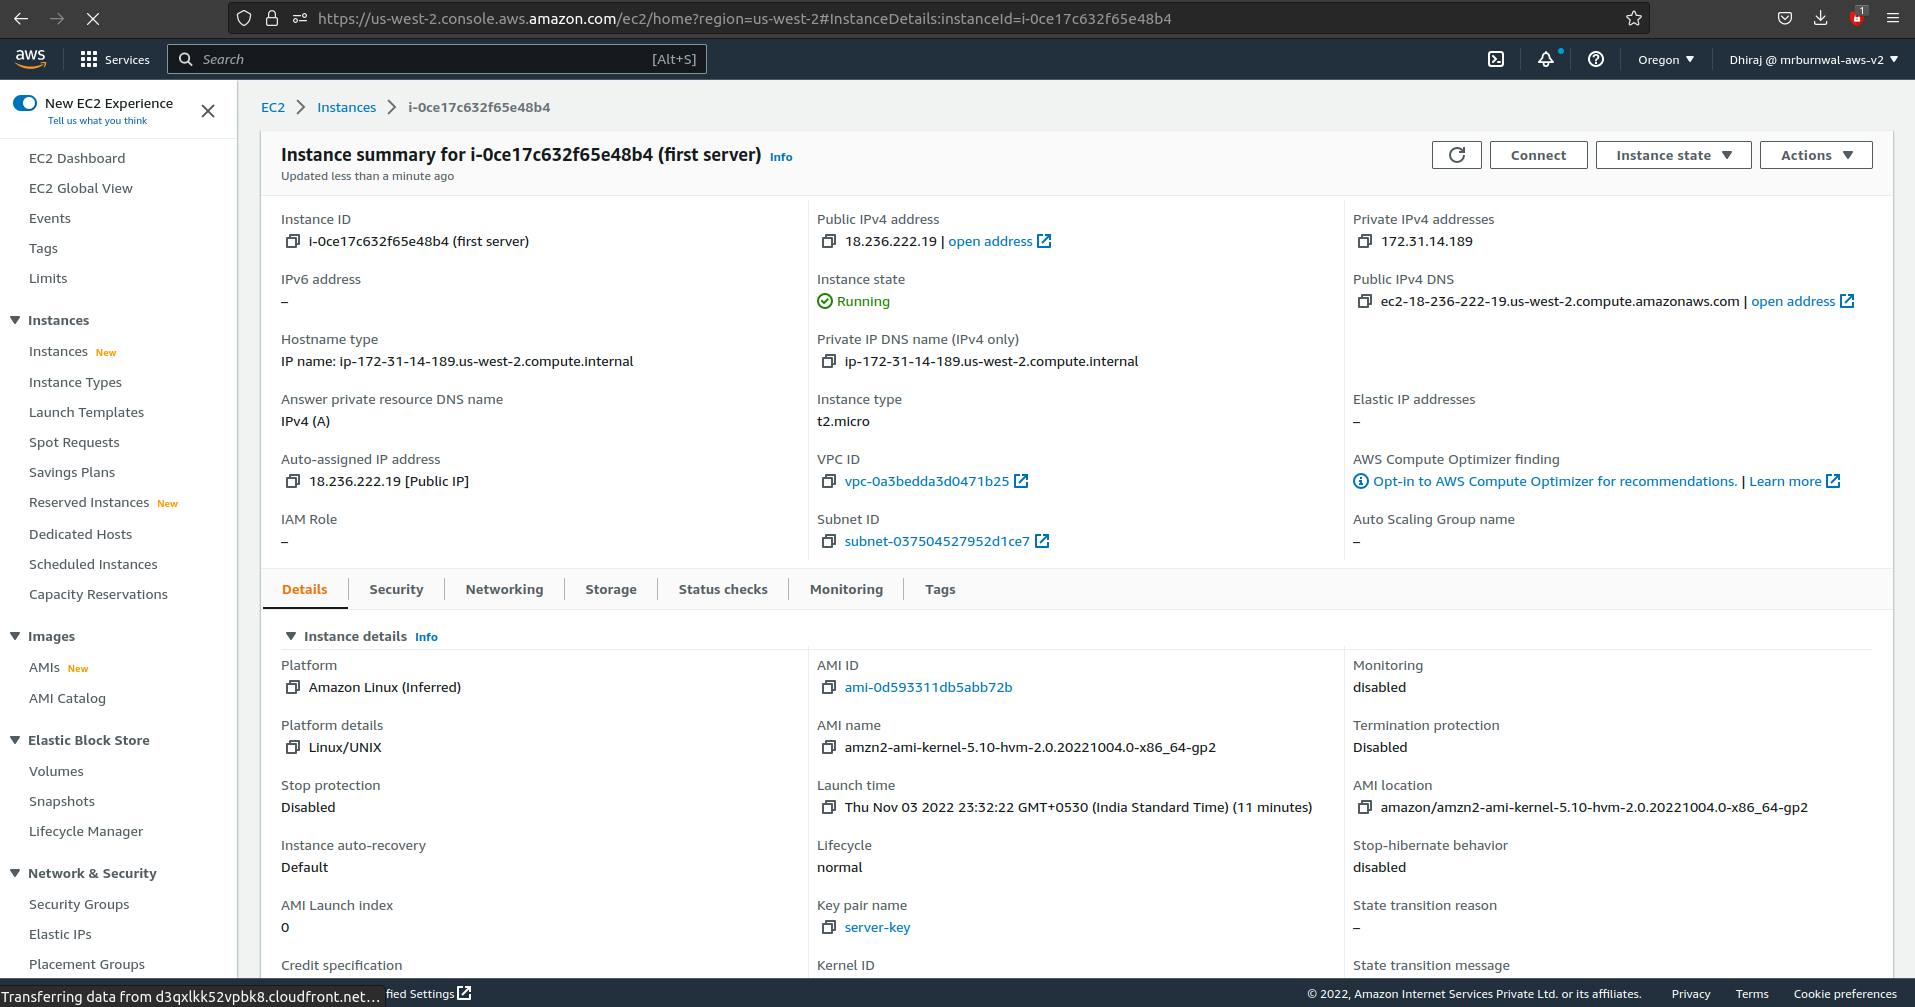
Step 6: Once your instance is created and running, you will see something like this after clicking on instance id showing in blue color in success box.
Note public IP address from here as we will use this to connect server in terminal.
Now, connect from our terminal. use below command :
chmod 400 <.pem key location> ssh ubuntu@ -i <.pem key location>